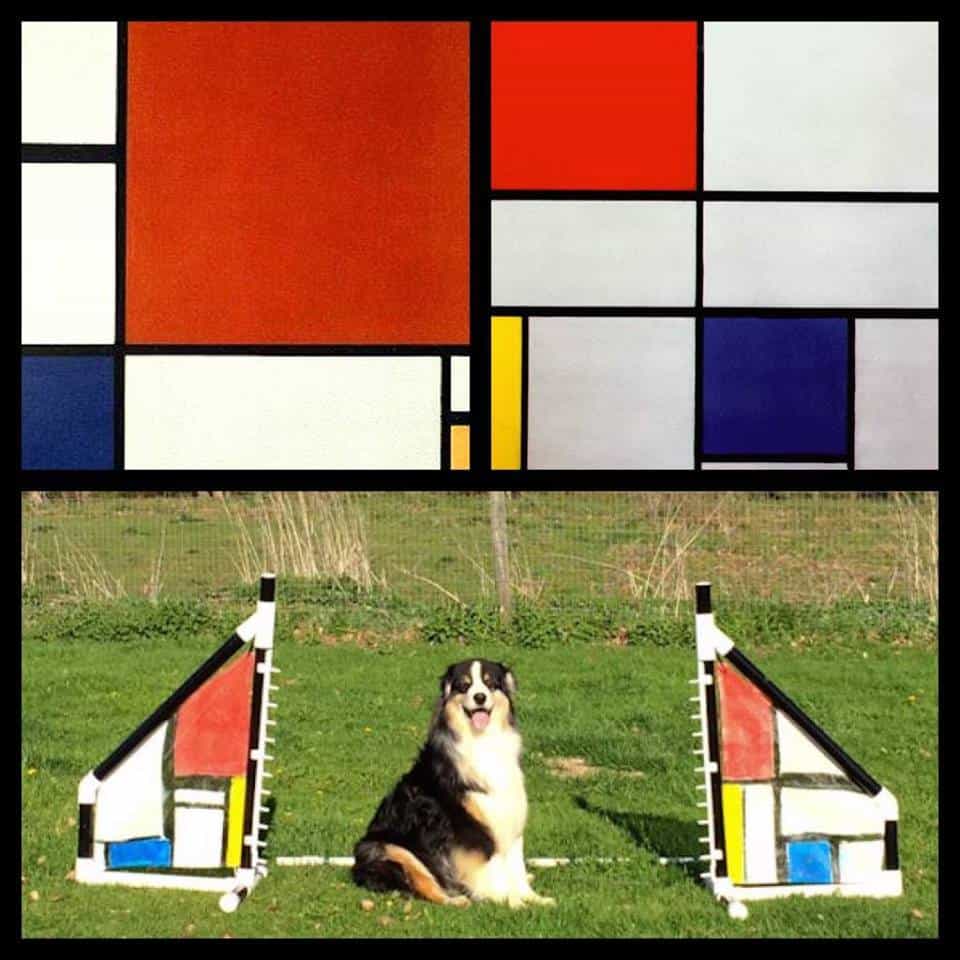
So, you'd like to build your own PVC wing jumps, and you'd like them to look a little bit fancier than the standard rectangular or square design? Several years ago, I built an entire set of PVC wing jumps – I wanted them to look like European style wing jumps. I made one for each country I've been to in the course of my dog agility travels, which was more than enough for a complete set! Over the years I've seen many others adopt my design and build some gorgeous wing jumps. If you'd like to build your own, here's how!


FITTINGS
I got all of my fittings at flexpvc.com:

WING DESIGN
Each wing requires the following:

- 27″ Upright
- 25″ Angled Wing Piece
- 17″ Wing Bottom Piece
- 8″ Outside Wing Edge
- 8″ Feet (x2)
- 4″ Top Piece
And requires the following fittings:
- 1 x PVC Wye
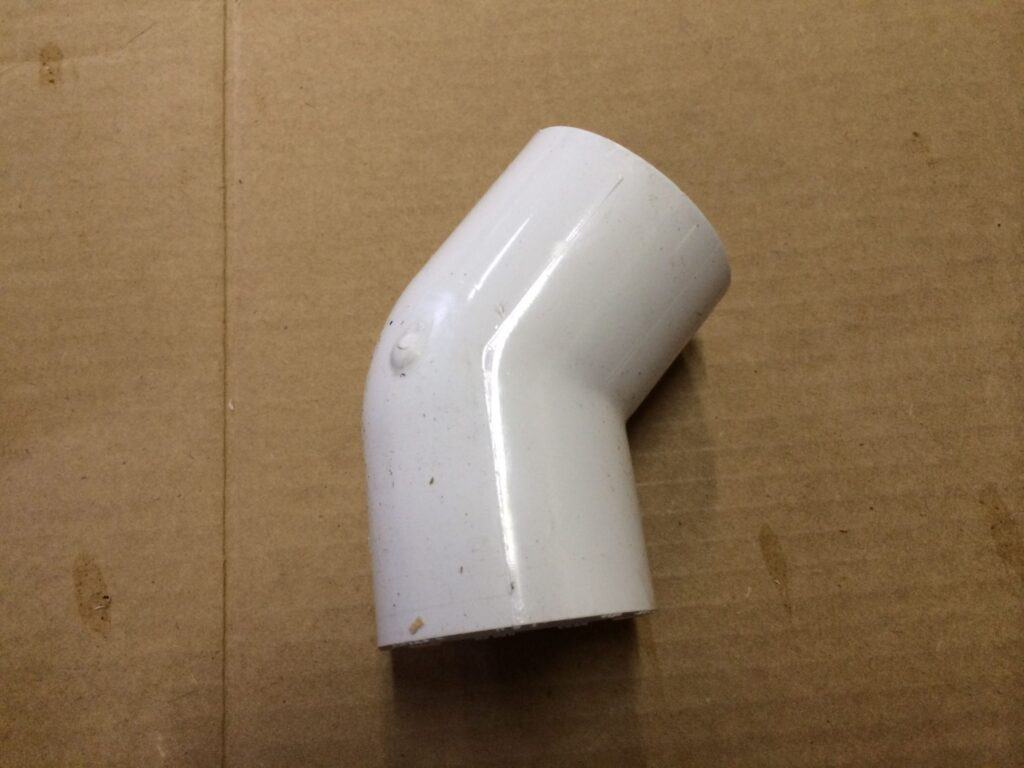
- 1 x 45-degree Elbow
- 1 x 90-degree Elbow
- 1 x 4-way PVC Connector
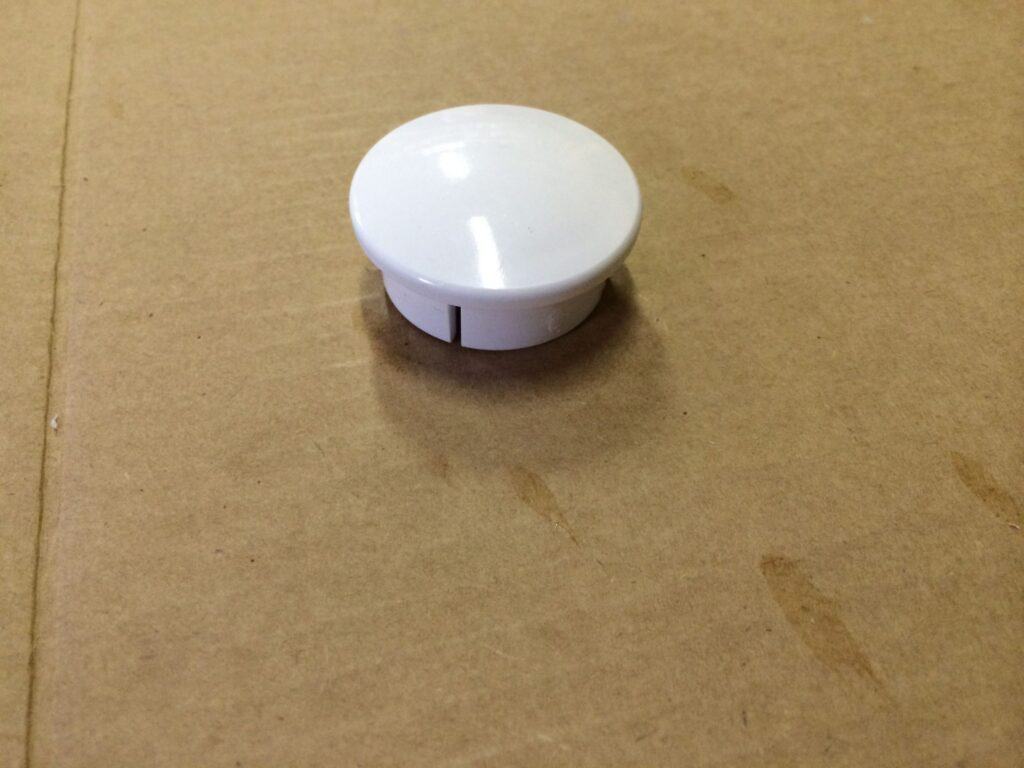
- 1 x inside cap for the top
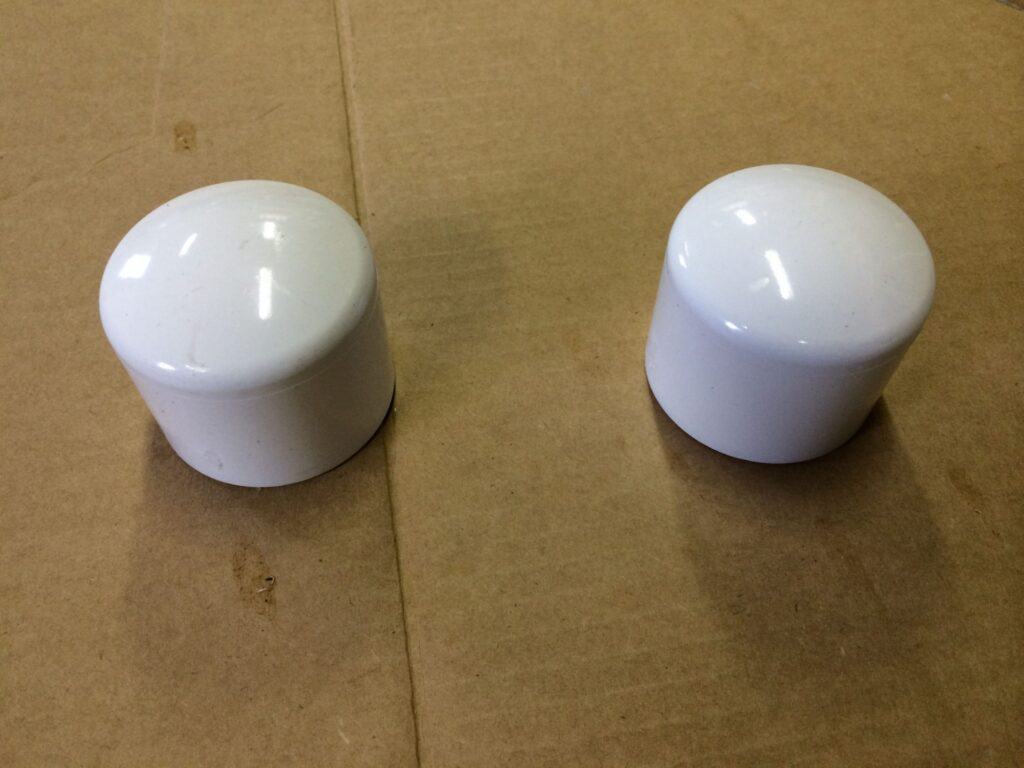
- 2 x outside caps for the feet
All the pieces are 1.25″ in diameter/size
CONSTRUCTION
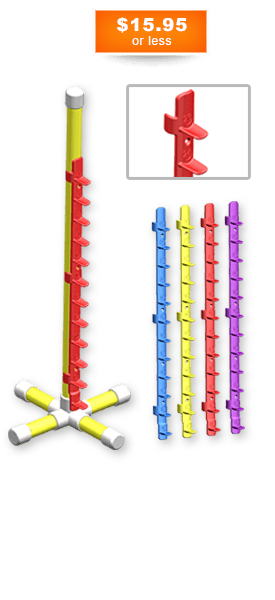
Get Some PVC, Fittings, and Jump Cup Strips:
I suggest you make a spreadsheet so you can calculate how many fittings you’ll need, and how much PVC you’ll need. Each piece of PVC I got was 10′, so I wanted to figure out how to use as much of a 10′ piece as possible with as little waste as possible, even if it meant mixing and matching what pieces I cut out of each 10′ length. Again, spreadsheets are your friend here. Once I realized I could dye the fittings as well as the pipe, and that there were colored jump cup strips…I went a little crazy. But it’s fun!
You’re also going to want to figure out what colors of jumps you want, fittings you want, and jump cup strips you want. Yep, you can get jump cup strips in colors to, CHECK IT OUT.
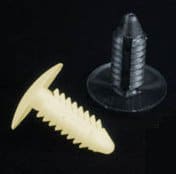
You'll also need a way to attach the jump cup strips to your wings. I used these handy little fasteners:
You’re going to want to clean the writing off the PVC. Acetone (a nasty solvent that you should take the necessary precautions with) works best, along with some steel wool. Use clean steel wool or you’ll end up just getting ink all over a clean piece of PVC. Make sure you do this in a well ventilated area and don't let the acetone get on anything other than the PVC!
CUT YOUR PVC BEFORE CLEANING
Measure and cut the PVC – it’s much much easier to clean small pieces of PVC than long ones. AND, you may find you don’t care to clean it at all – if there’s writing on a foot piece, just rotate that piece so the writing faces the ground. If there’s writing on an upright piece and you’re going to put a jump cup strip there anyway, just rotate it so the strip covers the writing.
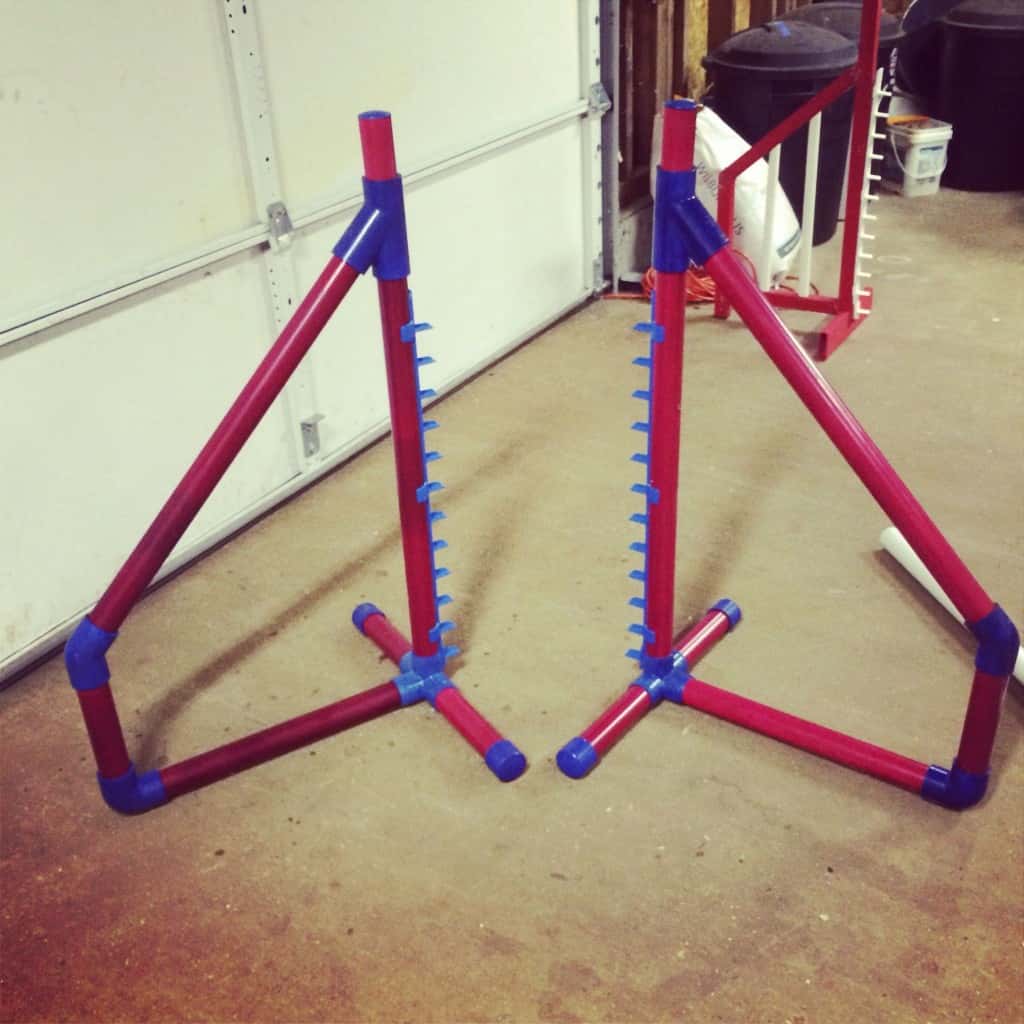
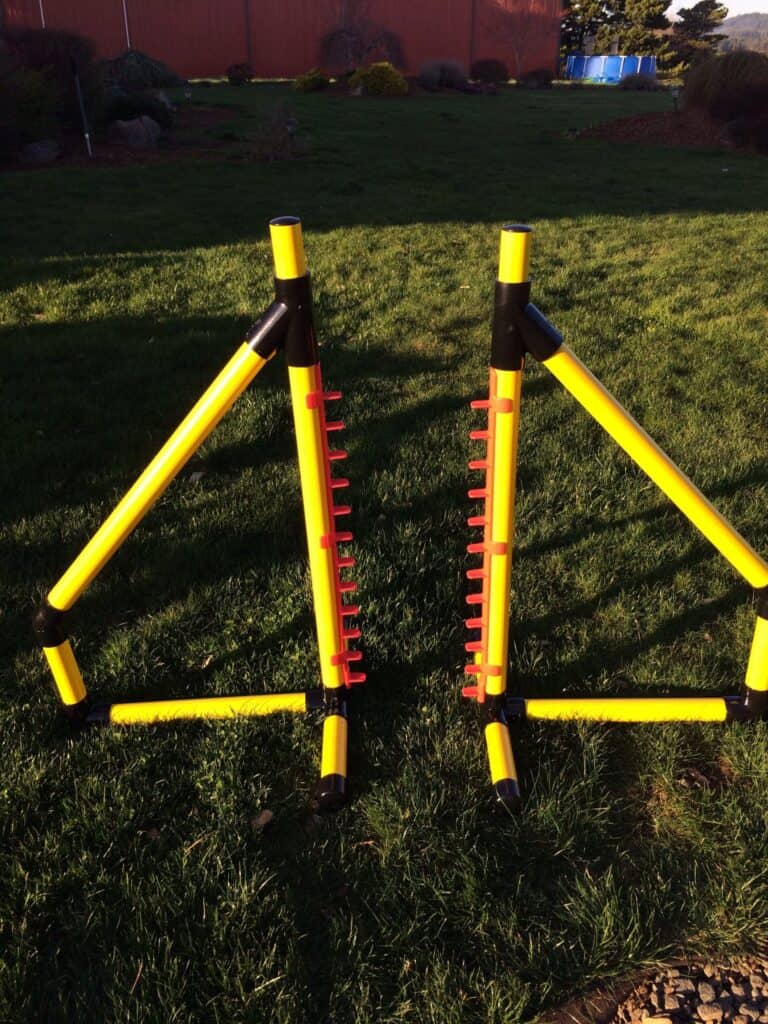
ASSEMBLE THE WINGS
Be ready to work quickly here as PVC cement bonds FAST. Carefully swab a bit of PVC cement (another nasty chemical) on the inside of one fitting at a time, and fit the pipe in to the PVC the way you want it to sit. Be careful – PVC Cement will start to lift the dye out of the PVC you just so carefully stained, so you don’t want drips!
Keep working til you’ve got your jump all assembled:
Before you drill the holes to push the fasteners through your jump cup strips and in to the uprights, make sure that a jump bar of your chosen diameter sits at the right height! Then, drill and fasten your jump cup strips in.
FILL THE WINGS
I wanted something pretty, and paintable to fill my wings with.
I settled on a PVC mesh material. It’s a screen mesh, and comes in different colors and widths. Perfect! I ordered it HERE.
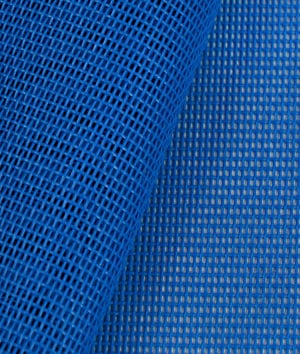
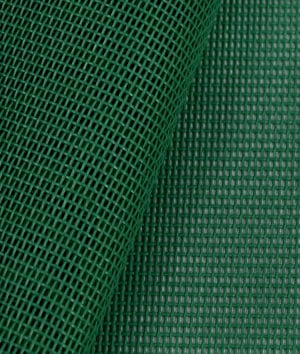
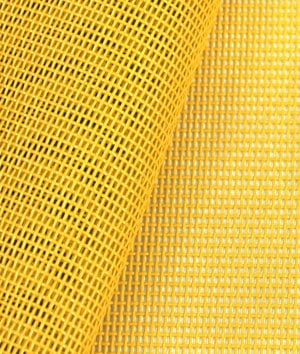
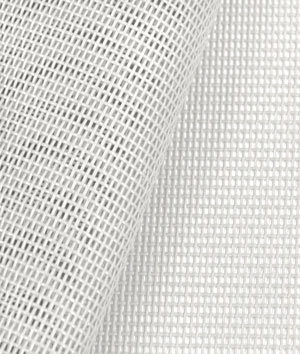
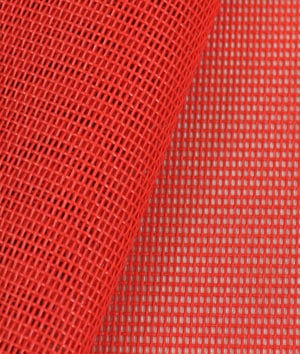
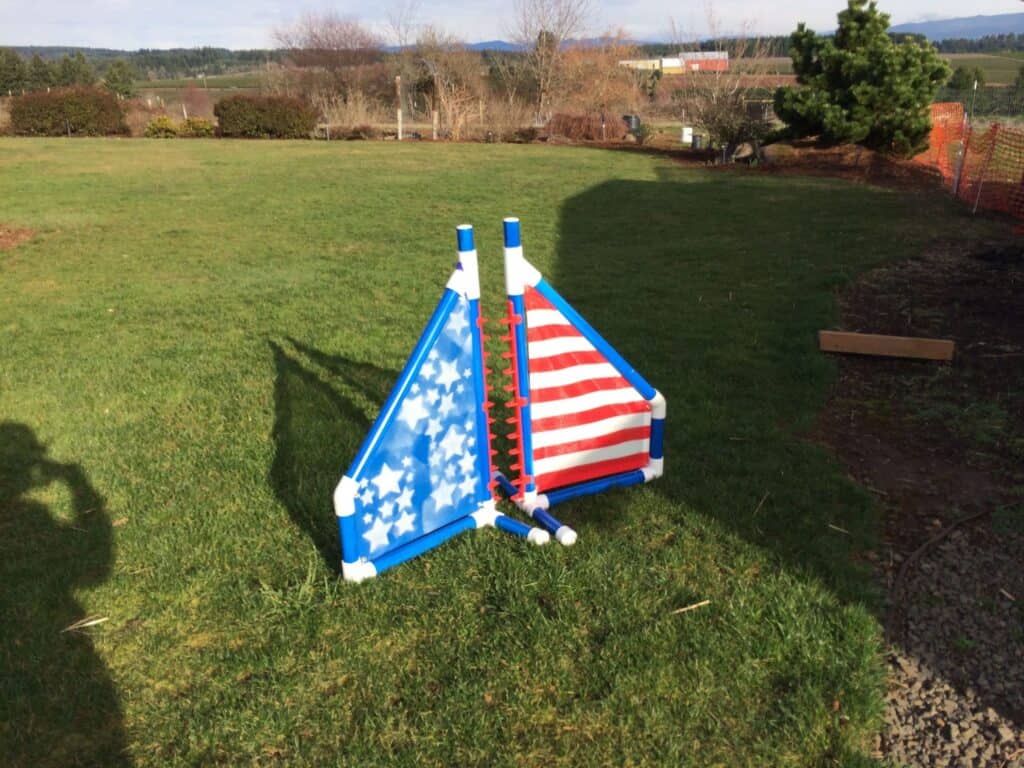
I figured that with mesh in these colors, along with some spray paint (that sticks to PVC!), I’d be set for my flag/country jumps. I used a piece of cardboard as a template, and cut out the wing shapes. Once I cut out the wing shapes, I used a lighter to burn the edges just slightly, to keep them from fraying.
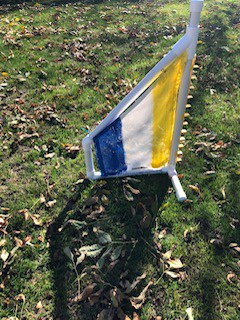
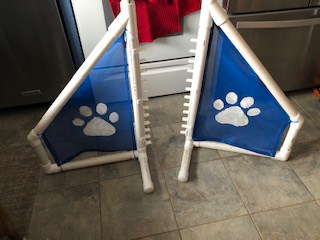
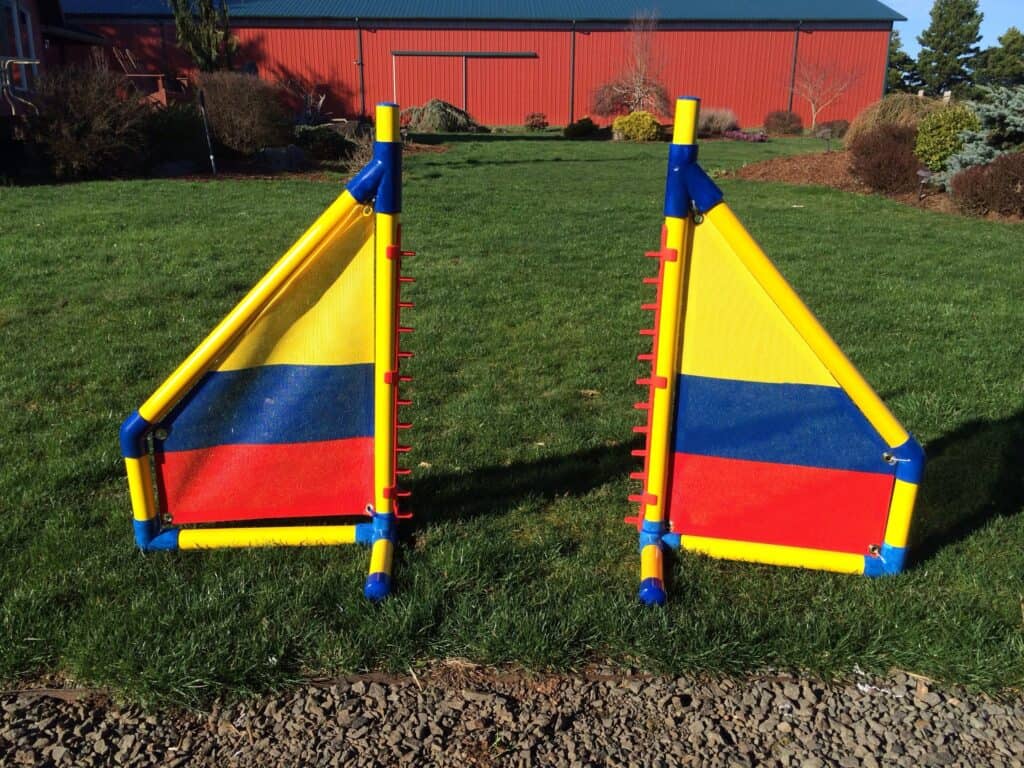
Paint whatever design you want on your pieces of mesh fabric. After the paint dries, put grommets in at each corner, and drilled holes in the PVC strategically so you can thread a zip tie through and attach the wings. Each wing has four grommets in it, and for each grommet, a hole was drilled in to the PVC fitting so a zip tie could hold the wing mesh in place – with the exception of the zip tie that is underneath the bottom of the jump cup strip (look at Colombia below, you’ll see what I mean).
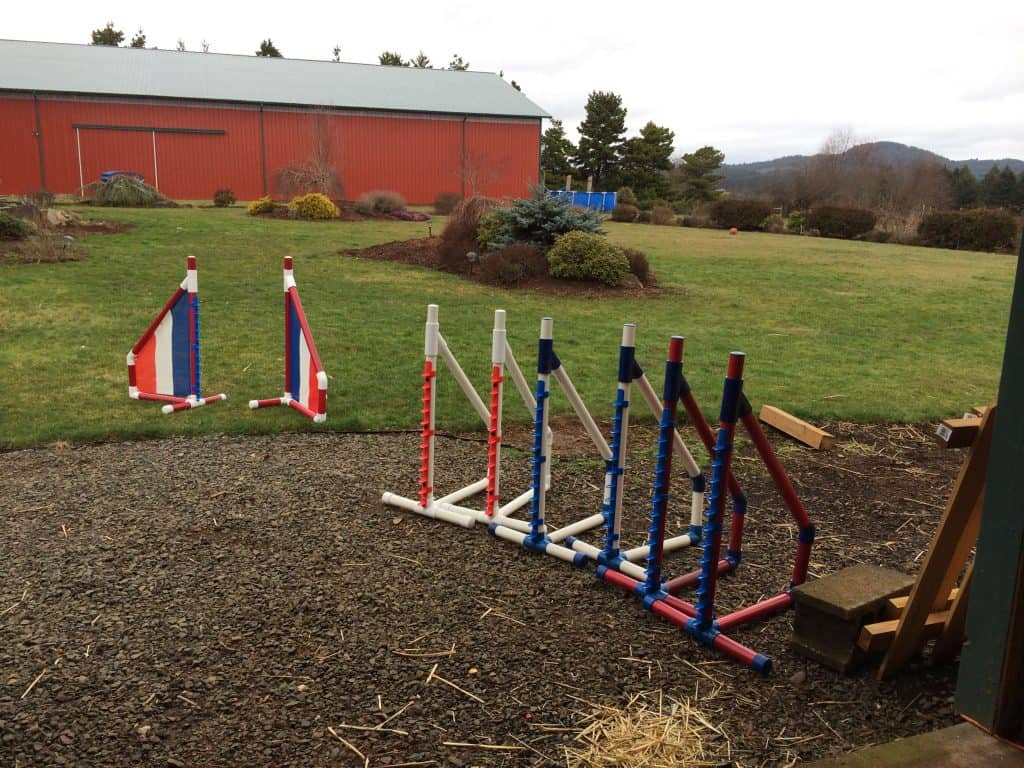
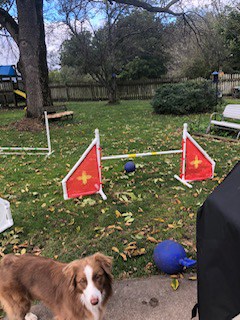
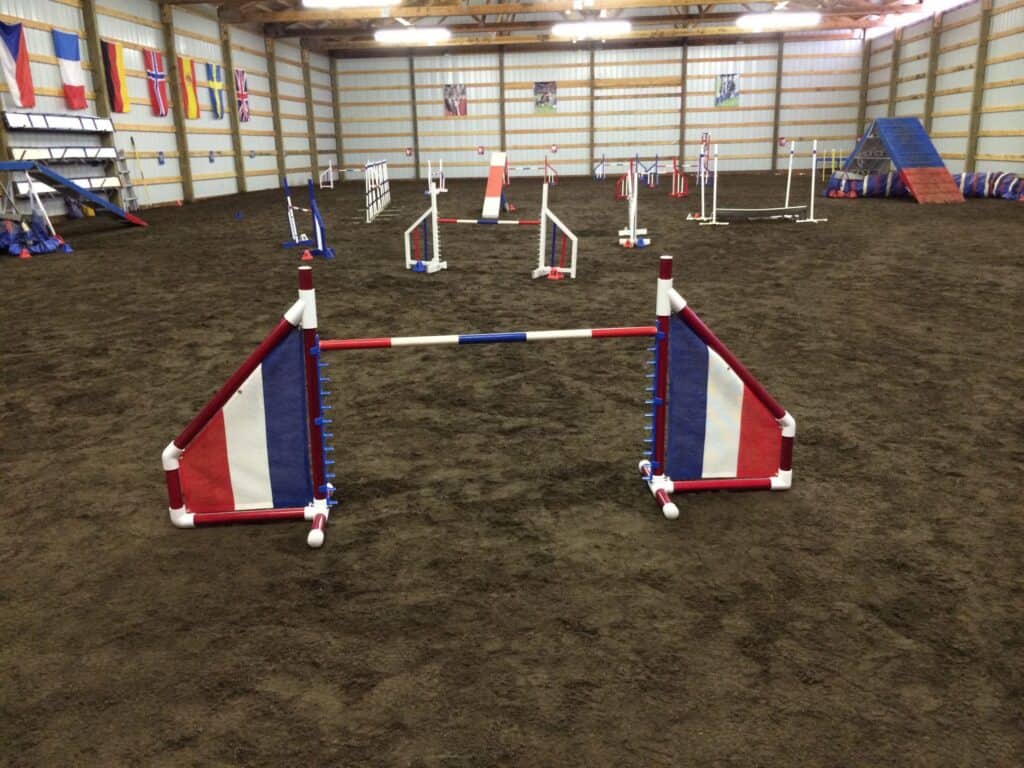
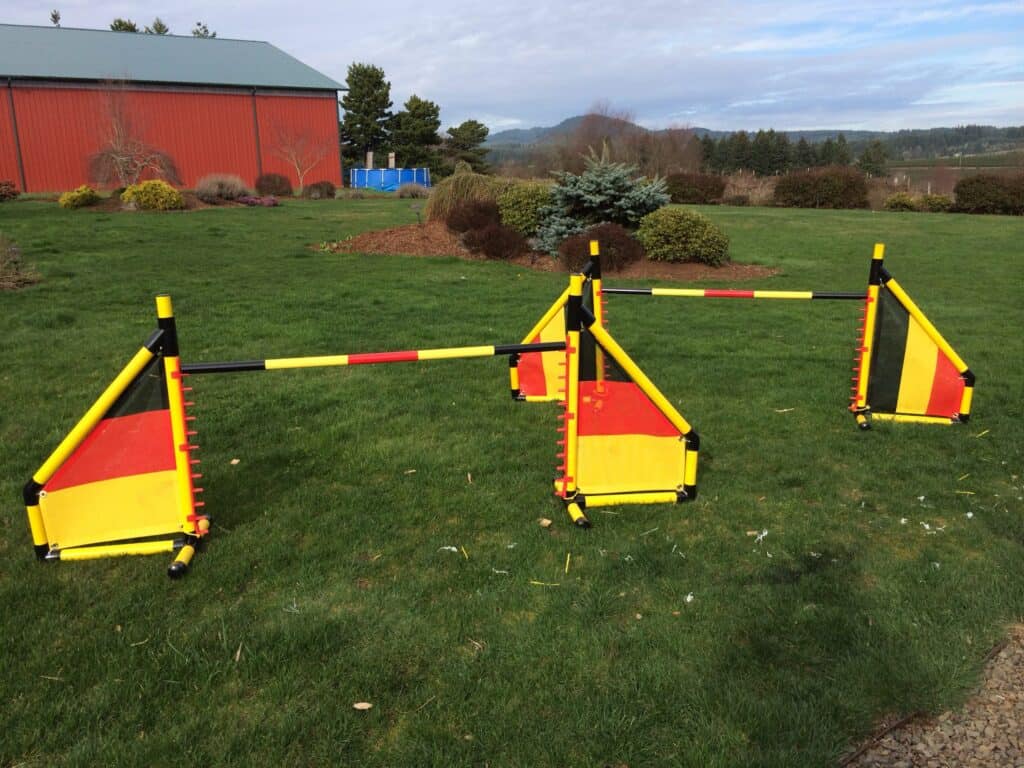
Below are some images of the jumps I made. I hope you enjoy them, and that you can come up with your own creative ideas! All in all, the costs were a little tricky to track, but I’m pretty sure that each jump cost me less than $50 all told. I like to putter, so the distraction the building of them has provided me has been well worth it. They’re sturdy enough that they don’t tip over as easily as my other jumps, BUT, if the dogs hit them they WILL fall away, which is an important plus in my mind.


Have you built wing jumps using this design? Send me photos of your wing jumps to include on this page!
Can you provide a sample of the spreadsheet you use for calculating the pieces for jumps?
I’m pretty sure I used a piece of scratch paper, or if I had a spreadsheet, it’s looooong gone 😛
@daisypeel Hi! I am one of your Agility Challenge participants and trying to build wing jumps, and I am wondering if you have the size/grade of the 4 way PVC connector. It gives us too many options. Thanks 😊
Should be schedule 40 and the size should match the size of your pipe. I like 1.25″ pipe, so that it’s a bit larger than the diameter of the 1″ jump bar.
Thank you for sharing this guide! I’m going to try creating my own wing jumps this weekend!